Videography Tips for Beginners: Start Strong, Stay Creative
Chosen theme: Videography Tips for Beginners. Welcome to your friendly launchpad for learning how to plan, shoot, and edit with confidence. Read on, try the tips today, and subscribe for more beginner-friendly guidance and real-world inspiration.

Frame Rate and Shutter Basics
Pick a frame rate that matches your story: 24fps for a cinematic feel, 30fps for crisp web video, and 60fps for smooth slow motion. Keep shutter near double your frame rate to maintain natural motion blur.
Focus and Stabilization
Use continuous autofocus with face or eye tracking for moving subjects, and switch to manual when focus keeps hunting. Stabilize with a tripod, gimbal, or even a stack of books. Steady shots feel instantly more professional.
White Balance and Color
Avoid mixed lighting and set white balance manually when possible. Daylight sits around 5600K, tungsten near 3200K. A cheap gray card helps nail neutral tones, saving time in editing and preventing strange skin tones.
Composing Shots that Tell a Story
Rule of Thirds with Purpose
Place your subject along thirds to add balance and interest, then adjust for the moment. When I filmed a beginner interview, sliding the speaker slightly off-center immediately made space for text and context.
Angles and Movement
Try a low angle for power, a high angle for vulnerability, and maintain the 180‑degree rule during conversations. Slow, intentional camera moves—push‑ins, reveals, or parallax—add emotion without distracting from the subject.
B‑Roll That Matters
Capture purposeful cutaways: hands at work, establishing exteriors, detail textures, and reaction shots. Good B‑roll covers edits, builds mood, and clarifies context. Share your favorite B‑roll idea in the comments to inspire others.

Lighting Made Easy for Beginners
Face your subject toward a window and place them slightly off to the side for soft modeling. Diffuse harsh sunlight with a sheer curtain. Golden hour outdoors gives beautiful highlights and shadows without expensive gear.
Lighting Made Easy for Beginners
Build a simple setup: key light for shape, fill light to soften shadows, and a back light to separate the subject. Clamp lamps, household bulbs, and a white poster board reflector can look shockingly professional.
Audio That Doesn’t Ruin the Take
A lavalier clipped near the chest captures clear dialogue in noisy environments. A shotgun mic sounds great when close and properly aimed. If your camera preamps are noisy, record to a small external recorder.
Aim for dialogue peaking around −12 dB to leave headroom. Use a dead cat or foam to cut wind, and record 30 seconds of room tone. Turn off humming appliances before rolling to reduce background noise.
Clap at the start for easy waveform syncing when recording separately. Label takes clearly, and follow the 3‑2‑1 backup rule. Comment with your audio challenges, and we’ll share solutions tailored for beginners.
Planning and Shooting Efficiently
Storyboard and Shot List
Sketch tiny thumbnails and write a shot list: wide, medium, and close‑ups for each scene. Include B‑roll ideas and transitions. Planning helps you film only what you need, keeping shoots focused and stress‑free.
Directing Non‑Actors
Give simple, action‑based prompts like “pick up the mug, pause, smile.” Encourage natural pauses for editing room. Keep the set relaxed and celebrate good takes. Invite readers to share first‑time directing wins and lessons.
On‑Set Habits That Help
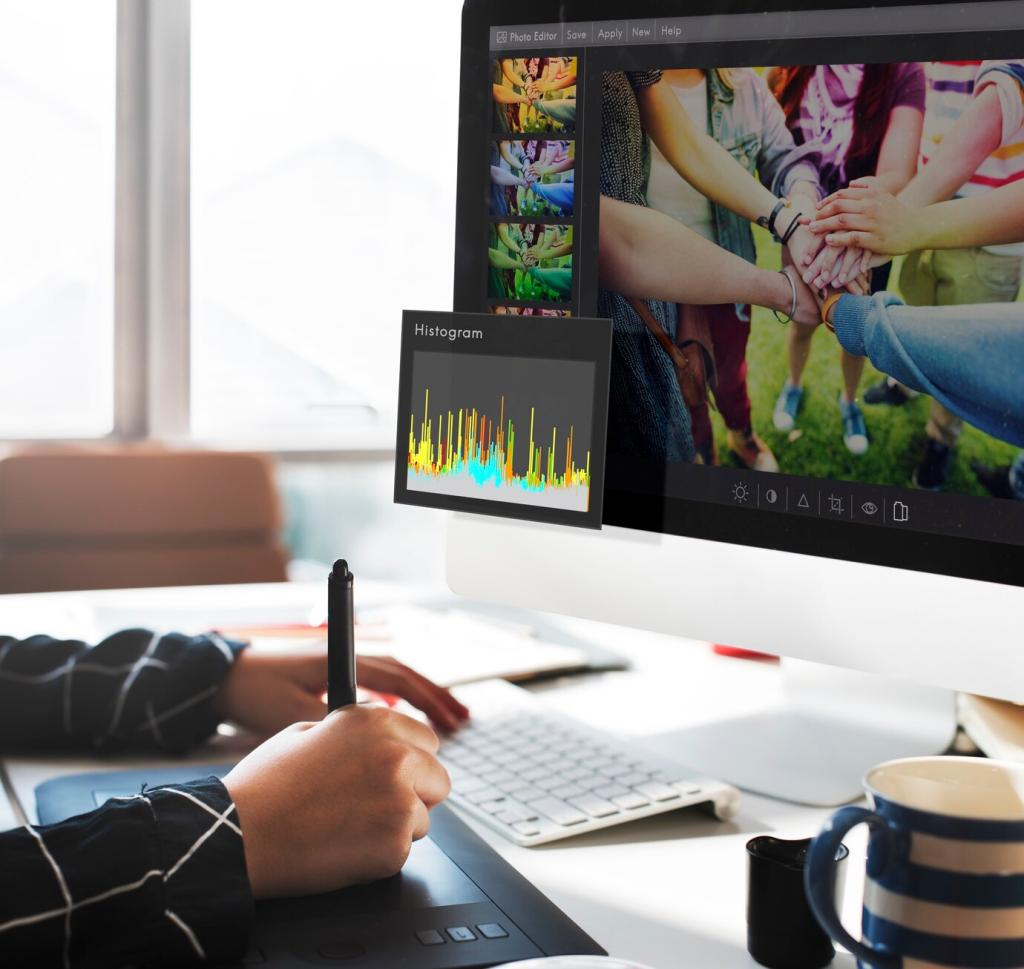
Before each take, check exposure with histogram or zebras, verify focus, and confirm audio meters. Keep batteries charged, cards formatted, and filenames organized. A quick checklist taped to your bag prevents painful mistakes.
Editing for Impact
Organize and Cut Cleanly
Create bins for footage, audio, music, and graphics. Make selects reels before assembling your timeline. Use J‑cuts and L‑cuts to carry audio across edits, smoothing transitions and strengthening emotional connections between scenes.
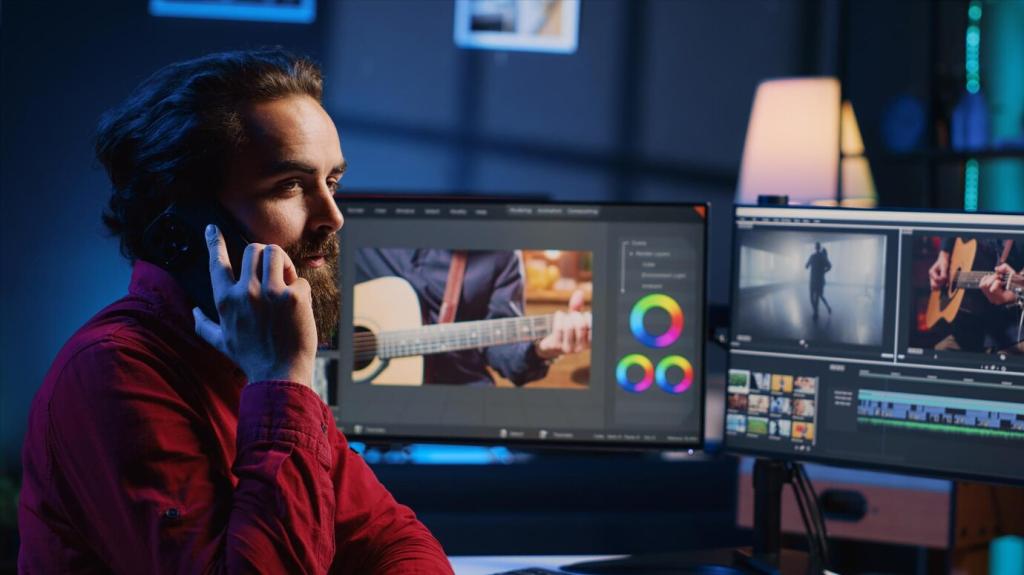
Color Correct, Then Grade
First balance exposure and white balance using scopes, then apply a gentle grade for mood. LUTs are starting points, not magic. Match shots across angles so skin tones remain consistent and believable throughout the sequence.
Export and Share
Export 1080p or 4K H.264 with a suitable bitrate—around 12–20 Mbps for 1080p web uploads. Add captions, craft a clear title, and design a readable thumbnail. Subscribe for weekly beginner tips and practical editing workflows.